Pages

Friday, March 2, 2012

The Release of the 1940 Census is Coming Soon -- are you ready?


Taken from
http://www.census.gov/history/www/sights_sounds/photos/
We’re all very excited about the upcoming release of the 1940 US Federal Census. And many of us have questions about the release. When will it occur? How will I access it? Will it cost money? Can I look up ancestors by name? I will address these questions in this post.

Perhaps most important is where you will find the 1940 Census on April 2, 2012. It will only be in one place:  http://www.1940census.archives.gov/ So, now you know when and where to access it. But what does it look like? What information will you find on this census?


Taken from http://www.census.gov/history/www/sights_sounds/photos/

First of all, let’s look at the actual document. What questions were asked on the 1940 Census? This information will help prepare you for the April 2 release. You will already be familiar with the document.

The US Census Bureau website has a useful comparison of the 1940/2010 Census questions and findings. One of the many interesting comparisons is how many farmers there were in 1940 (5.1 million) and how many in 2010 (613,000).

I was fortunate to attend a local presentation on the 1940 Census Release, hosted by The Clarke-Oconee Genealogical Society and the Oconee Public Library Ivy Room in Watkinsville, GA. Mr. Shane Bell, from the National Archives (NARA) Southeast Region, presented the program "How to Prepare to Locate Your Ancestors in the 1940 Census." Since the 1940 Census will not be name-indexed by April, Mr. Bell explained how to use enumeration districts to find people.

If you do not have the opportunity to attend a local presentation on the 1940 Census put on by NARA, you will find sufficient information on two websites to make your 1940 census preparation experience a straightforward one.

The first website to check is The National Archives page What can you do now in preparation for the opening of the 1940 Census?”  NARA lists three steps that you can take now to prepare for April 2nd:
  1. “Make a list of all the people you want to look for in the 1940 census.”
  2. “Collect addresses for these people for whom you plan to search.”
  3. “Identify the enumeration district (ED) in which each address was located.” NARA lists three ways to find the ED where your ancestor lived, but the third way, the most direct and comprehensive, is to use Steve Morse’s website.
I contacted Dr. Morse, and he was very helpful in suggesting how to approach the task of identifying 1940 EDs.

First, he directed me to his article “Getting Ready for the 1940 Census: Searching Without a Name Index”.  In the third section of this article, “Enumeration Districts”, you will learn that the 1930/1940 EDs consisted of two parts: a prefix (the county) and a suffix (the district/town).

  
In the fourth section of the article, “Where Did the Family Live?”, he gives some great suggestions as to where you might find the 1940 address of you ancestor. Remember, if you have the 1930 address of your target ancestor, this will not be sufficient if he/she moved in the decade between 1930 and 1940.

I have a caveat to offer as you begin this process. First, have all your ducks in a row:
  1. know the geography of the area where your ancestor lived in 1940. Was it a small town?Was  it a city over 5,000 people?
  2. know the county in which the target town/city was located
  3. realize that knowing the 1930 address of your ancestor is not sufficient if he/she moved by 1940


All right. The preparation is done. It’s time to relax and follow Dr. Morse's next suggestion: take the Tutorial Quiz that leads you through the process to get to your 1940 ED. Remember, there are twists and turns in the journey. Lots of screens. But be patient. Take a break if you get lost.


Now you are all set for April 2, 2012. Be sure to remember the caution on the NARA site regarding how to access the 1940 census. It will only be available in one place. NARA and archives.com have teamed up to offer the 1940 census at a special site, free of charge with the opening bell at 9:00 am on April 2, 2012. And if you couldn't find the 1940 address of one of more of your ancestors, don't despair. The name index for the 1940 Census will be available at some point.

Categories: census, US Agencies

Wednesday, February 22, 2012

Cemetery Savvy 1 -- How to Make the Most of Your Family Graveyard Visit

Entrance to Union Hill Cemetery taken by Bert Schuster, 2008
The first cemetery, I ever visited as a genealogist, was in Union Township, Lawrence County, OH about four years ago when I still thought I was a Spears. The story is worth telling because of several lessons that I learned.

Union Hill, like a lot of old cemeteries that you might visit in search of your ancestors, is very hard to find if you are not a local. I was lucky that I had been working with Ellen Gammon, a professional genealogist in Lawrence County, for several months before my trip. I introduced Ellen in my blog post of Oct 19, 2011. Before my husband, Bert, and I even left Georgia, Ellen sent us a detailed topographic map showing the location of Union Hill Cemetery. Because this cemetery, like so many others in rural parts of America, is so far off the beaten track, we could never have found it without this map.

 So, Cemetery Lesson # 1 -- to prevent frustrating and disappointing efforts to find remote family cemeteries, always try to find out as much as possible about the exact location before you begin your trip. Contact local libraries and county offices to inquire about maps. If you can find a US Geological Survey (USGS) map/webpage with longitude and latitude, you can use a Global Positioning System (GPS) device to help guide you. An example of this type of tool is the Union Hill USGS information webpage.

At-home preparation before your visit will pay off 1000%! You can do a Google search on the name of your cemetery. This may turn up maps, historical information, phone numbers, websites, and even, if you are very lucky, a list of people in the graveyeard. Findagrave and Interment.net are two websites that allow you to search for cemeteries across the US.

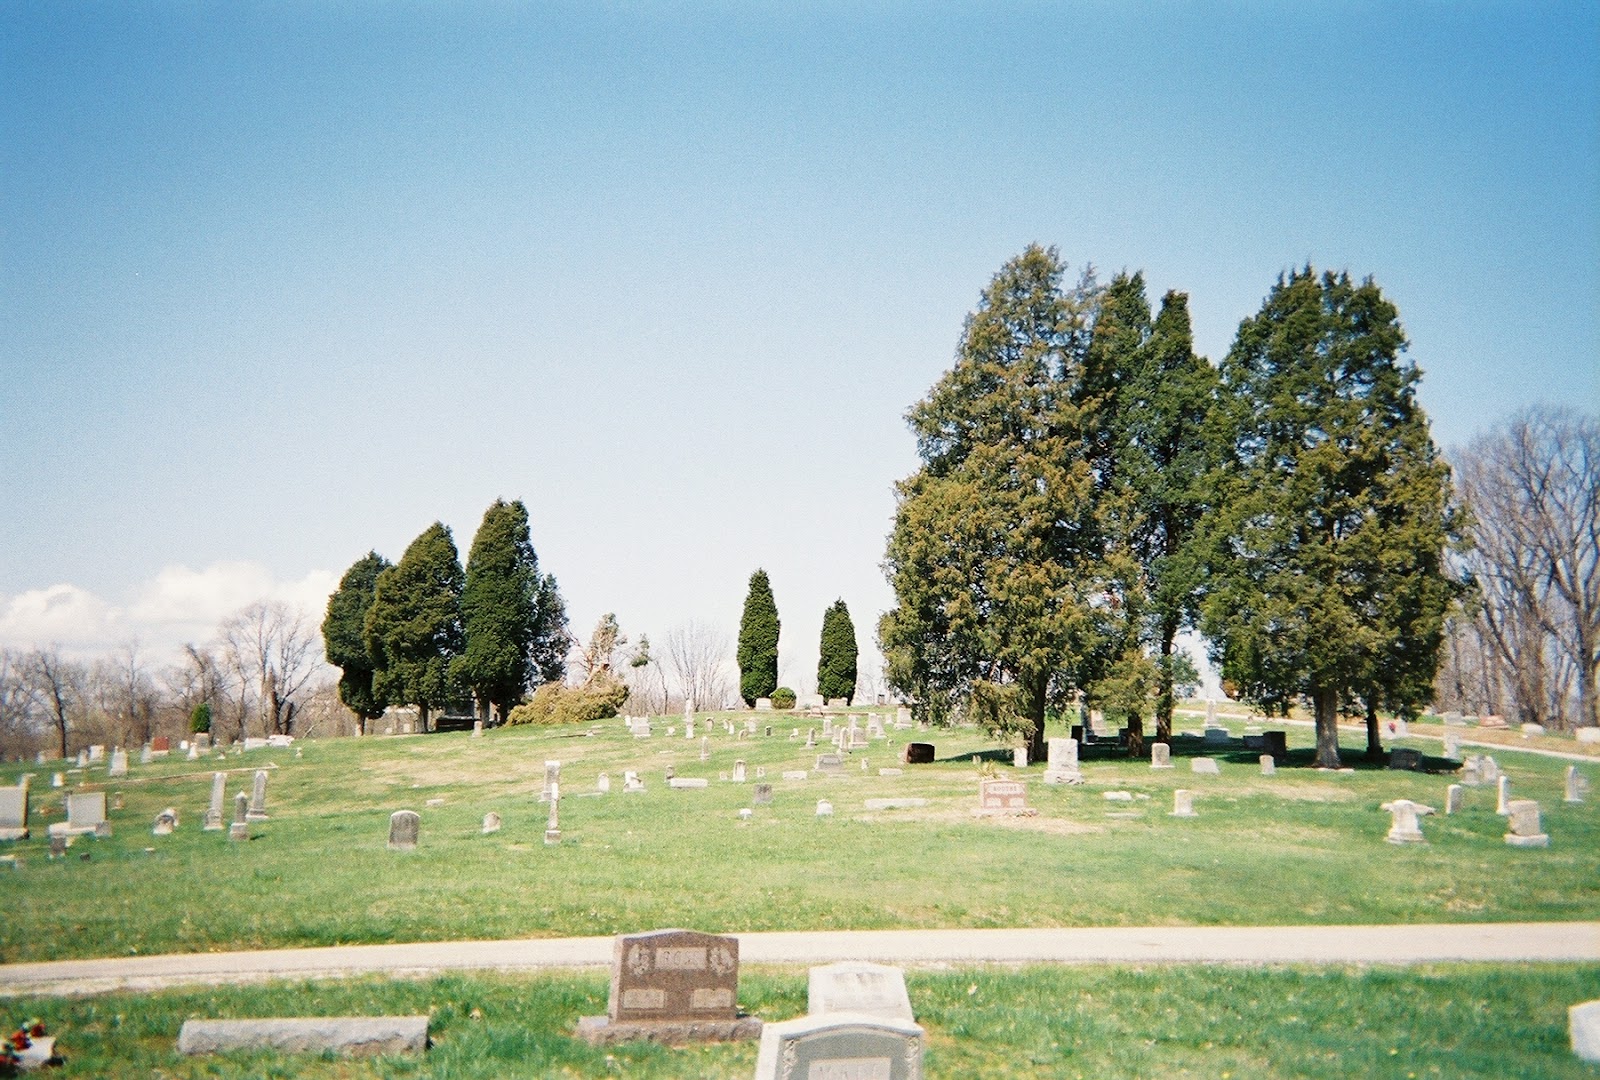
A hill view in Union Hill Cemetery taken by Bert Schuster, 2008
After trip preparations were complete, Bert and I hit the road. When we arrived at Union Hill, we found that we were the only ones there. The cemetery is located on several hills and is about 10 acres. There was no office. We had no map of the cemetery itself so we started walking up and down the hills, peering at gravestones.

Spears Plot taken by Bert Schuster, 2008
We hadn’t yet found any Spears graves when we saw a car drive up. I went up to say hello and the driver told me that there was a sexton living down the road who had a map of the cemetery! She even knew the man. When we said that we didn’t want to bother him, she said he was just sitting at home and would be glad to help us. Then she told my husband to follow her to the sexton’s house. Meanwhile I stayed behind to continue searching. By the time Bert returned with the map, I still hadn’t found the Spears plot. But sure enough, the map showed us right where it was!! 

Cemetery Lesson #2 – always talk to people you meet in a cemetery; especially in small, rural graveyards where the people who are visiting their loved ones are often locals who may have a wealth of information to share with you. They could even be related!

The third lesson came when Bert tried to take a picture of the Spears family plot. Our digital camera wouldn’t work! No problem, we thought. Bert would find a camera store in Ironton or a WalMart and pick up a new battery while I continued looking at the grave stones. What we didn’t count on was this is a small, non-urban area. No camera stores. WalMart carried regular batteries but not the special camera battery that we needed.
Cemetery Lesson #3 – always bring more than one camera with you. Disposable cameras cost very little and can mean that you actually bring home some photos if your real camera stops working. An extra memory card is also worth tucking in your camera case.

Once you are in the cemetery and actually locate an ancestor’s grave, new challenges may arise. You walk up to the grave with great anticipation. Is there a marker or stone? And, if you find a grave marker, what condition is it in? What material is it made from and if there are symbols carved on the stone, what do they mean? A brief, easy-to-follow guide to tombstone identification and cleaning is available from Everlife Memorials


Grave of David Spears, taken by Bert Schuster, 2008

An in-depth discussion of how to determine the type of stone and how to clean that stone is at The Association for GraveStone Studies. I wish that I had known about these information sites before I went to Union Hill Cemetery. I brought no cleaning supplies with me. My ancestor, David Spears' tombstone, was in poor condition.

Cemetery Lesson #4 – although you may want very much to “clean” a tombstone of the moss, lichen, dirt, and other materials that might be obstructing your view of the lettering beneath, remember to check to see the composition of the stone before you begin any debris removal procedure. And be sure to use the recommended cleaning substances and tools so as to minimize any damage to the stone.


Taken by Bert Schuster, 2008

Many of us have ancestors who lived in states far from where we live now. This makes regular maintanence visits difficult if not impossible. A tip that I learned from Union Hill Cemetery is to look for any signage that might be in the graveyard. Also don't forget to look at the target cemetery on-line for contact information.
You can send in a donation for cemetery upkeep.

Perhaps the most important lesson to learn when planning a cemetery visit is to be sure that you bring along a friend. Another person is good for safety purposes (in rural and in urban cemeteries) and as another pair of eyes/hands to help you as you travel the grounds searching for the graves of your ancestors.


Using a little cemetery savvy when you set out to find your ancestors’ graves will go a long way in helping you reach your goals and making sure that you leave the graveyard in the same or better condition than you found it.

Categories: research terms

Wednesday, February 1, 2012

Can’t Find the Answer? Derive It!

Budget makers often talk of “backing into a number". In other words, you don’t start with the number; you derive it or calculate it from the data you have.

This same thinking process can be used with genealogical research. You may have a piece of information but not the whole story. You may need to derive part of the story that is missing by looking at the data you can find and drawing a conclusion.

My great, great grandfather, Johannes Ulrich Kreis, called “John” in America, was born in Switzerland. This information came from several records, including census documents from 1910, 1920 and 1930, his naturalization card, and his death certificate.

Like most genealogists, now that I had the country he was from, I wanted to know more – where in Switzerland was he born?  After looking for months over the records I already had and scouring the internet for any ones I had missed, I still was no closer to finding John’s birth town.

This is the point where I decided to try “deriving” the answer from existing data. I went to FamilySearch.org and put in the name “Johannes Ulrich Kreis” as I was hoping to find some European records. I was surprised to find pages and pages of men with this name, born between the 1700s and 1900s. What was most interesting was that all the persons were from the same district of Switzerland – Thurgau -- see upper right hand corner of country bordering on Lake Konstanz (Constance) in map below:

From Nations Online Project http://www.nationsonline.org/oneworld/index.html

Now I had something to go on. I had narrowed the field. Suddenly my search for John Kreis’s birth town had become more focused – there was some evidence that he was born in Thurgau. I could focus my efforts on one district in Switzerland instead of laboring on all the districts which would be overwhelming and so time consuming!

But I found that I could narrow the target (John’s possible birth place) even more. As I looked over the search results, I saw that several towns or villages kept reappearing in the list: Arbon, Egnach, Ermatingen, Neukirch an der Thur, Sitterdorf, Weinfelden and Zihlschlacht.

Now I had some data that was narrow enough to actually do something with. I needed to see if any living Kreises were to be found in those seven most commonly occuring towns. This is where the old fashioned telephone directory, now on-line, comes in handy. I first went to Numberway which is a “free…guide to telephone directories on the web.”  It is “the easy way to find phone numbers all around the world.” When I selected “Switzerland” on the Numberway search page, I was directed to the official Swisscom White Pages. In the search window, I put “Thurgau, Switzerland” and searched for Kreis as the last name. I searched by several first names in until I had quite a number of people to contact. To narrow the field, I filtered by town/village, looking only at the seven towns of interest.

Now, here is where I have some special help that may not be readily available to many genealogists. My husband, Bert, is German and is totally bi-lingual in German and English. What good luck for me that my Kreis line is from German-speaking Switzerland! Instead of me calling the Kreis men on the list and hoping they can speak English, Bert will call in German!

I created a script that Bert could use to begin his conversations. He then translated the script into German. In order to capture main points in the conversations, I created a “recording form”.

Now the preparations are ready and Bert can begin calling. As we collect some data, I will be able to write a post about our experience. And just maybe I might be able to dervive some answers to my Kreis family history puzzle.

Categories: research terms